Tuesday, March 20, 2012

Hopfenweisen or India Wheat Ale (IWA)

This beer is more of an experiment.  I was curious what my ultimate two "spring" beer styles would be like together, wheat and ipa.  Wheat beers are traditionally very mild.  They are very smooth and have a good mouth feel.  They stand alone, don't need any caramel malt or strong hops, they are very relaxing and just remind me of a cool spring day.

On the other hand, ipa's have a strong hop character that reminds me of all the little green things starting to wake up again and stretch their little heads from the cold wet soil.  The pronounced citrus and candy resin flavors give it a "waking up" taste.  That's why I felt these two styles could be suited to be paired.  A mild wheat back ground and a bright hop flavor.

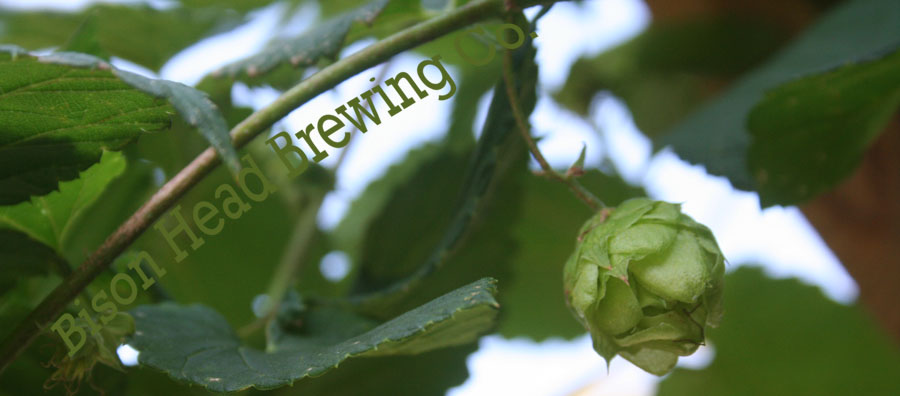
I decided to stick with one kind of hop and use Amarillo.  It is a good all-around hop.  It has nice floral, citrus, spice, and orange like aroma and flavor and it's a good bittering hop because of it's low cohumulone content.  I also like a mainly wheat grist in my wheat beers so I stuck with a 50/50 wheat to barley mix.

6 lbs. Wheat Malt
5 lbs. 2 Row
1 lb. Caramalt

.25 oz Amarillo Mash Hop
.25 oz Amarillo 60 mins
.5 oz Amarillo 15 mins
1.25 Amarillo 5 mins
1 oz Amarillo 1 mins
2 oz Amarillo Dry Hop 7 Days
Safebrew 33 Dry Yeast

I've never really understood the purpose of a mash hop so I looked it up.  First Word Hopping is said to impart he same bitterness as a 20-minute addition and retain the essential oils that impart flavor and aroma.  This works because alpha acids and compounds that would normally boil off during the 60 minute boil are isomerized and stay with the wort for the most part throughout the boil.  The mash did have a great hop aroma from the very beginning.

Tin Pail Ale

I began transporting my beer in empty 12 oz bottles when I first started homebrewing.  This was very time consuming to do and I was always washing so many bottles.  I then tried using empty wine bottles, this was a little easier, but I was afraid the pressure from the carbonation would push out the cork.  I then discovered half gallon growlers and I'm never going to look back!

I have been transporting my beer recently and I decided to do a little research on the history of the growler.  Turns out at the turn of century, local breweries would sell their brew for a nickel or a dime to fill up a 2 quart tin pail.  Since refrigeration wasn't in every home, this made it much easier to drink cold beer.


In honor of this tradition, I decided to brew my next beer in honor of this pre-prohibition tradition.  I formulated a recipe using a good deal of flavor, aroma, and dry hops.  Also adding just a bit of chocolate malt to give it some rusty color.

9 lbs. 2-Row
1 lb Crystal 80L
2 oz Chocolate Malt

.5 oz Cascade 60 mins
.5 oz Centennial 15 mins
.5 Cascade 10 mins
1 oz Centennial 5 mins
1 oz Citra 5 mins
1 oz Citra 7 days dry hop


I mashed in at around 150 degrees and let it sit for an hour.  Boiled as usual and I used a dry yeast Safebrew 33.  I has a sharp bitterness at first taste and I wonder if this is because not all of the chlorine evaporated out of my mash water.  I am letting it sit a little longer to see if it mellows out.  It does have a nice grapefruit character and a good amount of maltyness.  


Tuesday, March 13, 2012

Chest Freezer Kegorator Build

I got my first Kegorator from Craigslist for free.  It was a former kegorator with a hole in the side already.  It worked great when I got it home and I started with just one tap.  I painted the fridge with black spray paint and added my, at the time, brewing name (West Diamond).  I eventually added two more taps and it's held everything from Coors Light to Empyrian Ale's Third Stone to every batch of my homebrew so far.


With everything, I needed to expand.  Rebekah and I got a chest freezer from my uncle a when we first moved into our house.  His neighbors were moving and they didn't need it any more.  My uncle also didn't need it so that's how we ended up with it.  


The freezer measures 36 inches by 21 inches.  I decided to build a collar on top of the freeze so if we ever decided to turn it back into a deep freeze it wouldn't have holes in it.  I also purchases a Johnson Controls Analog Thermostat to keep the freezer at a refreshing 40 degrees.  I also noticed everyone stains the wood on their kegorator collars so I decided to go with a different look.  I found some stainless steel contact paper at Menard's so that's how I'm going to finish my look.  I detached the lid of the freezer and began construction of the collar.


I just used select pine board 1x8 for my collar.  I used wood screws and then routed the edges to match the round edges of the freezer.


Here's the Freezer with the contact paper on the wood.  It doesn't look too bad.  It is a little fake, but it was a quick way to finish the project in less than a day.  I also got some R6 insulation to line the inside of the wood on the freezer.  I just going to use the basic set up I had on the inside of the other kegorator for now. 

You can see the foam insulation on the inside of the freezer on the bottom left you can see the end of the thermostat.  After a long day of work, I thought I deserved a nice pint of Pale Ale.

Prost!